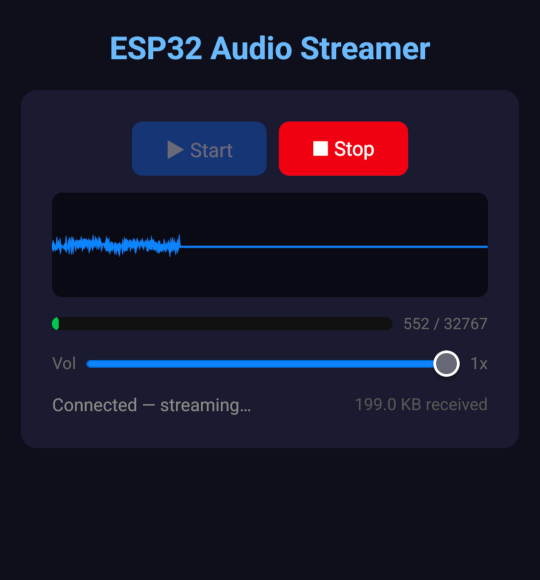
This project might be a good starting point if you want a device that streams audio data to many listeners — for example, audio streaming for excursions, guided tours, etc.
I had a few iterations with this project. The first iteration started in 2024; I was experimenting with Raspberry Pi and gstreamer at that time. I couldn’t beat the high latency of web streaming — obviously the issue was that httpd wasn’t configured to use websockets. I abandoned this idea afterwards. Back in 2026, after switching to ESP32, I was able (with AI help) to reach a desirable result. It supports 10 simultaneous connections. HERE you can find the repo with the project and all HOWTOs in README.md.
This project is intended for those who want to loop a video on the HDMI display without occupying a laptop/PC for this simple task. To control video playback you just need a prepared Raspberry Pi board and a USB drive with the video source (won’t be permanently connected). The project has a few more useful features and examples to use. The project is tested on Raspberry Pi Zero W and Raspberry Pi 4 hardware.
In this short video I insert a USB stick with the config that: copies 3 video files from USB drive, shows all copied files, starts playing the copied file video.mp4:
The repository with the looper is located HERE. Feel free to try or/and exetend it. The full description and how to deploy is in README.md file. Looking forward for your feedback. Happy codding!
Last week I was experimenting with copilot agent GPT-4.1 (released 2025.04.14) and I was curious how it solves the tasks from the embedded development world. As a hardware target I used ESP32-S3-Touch-LCD-1.28 development board. The outcome of it was 3 games which ewre 95% generated by the agent. I give 5% for manual debuging and fixes. In generally I am more than happy with the outcome.
All of the games are using IMU for the game control. The list:
Dice – simple game that shows a random number after shaking the MCU
Ball in Hole – the ball has to be droped to the hole by tilting MCU
Tennis – classical game against NPC with the tennis score. The player can by moved by tilting the MCU
Short demo of the games:
The repository with the game is located HERE. Feel free to try or/and exetend it. Quick Start is in README.md file. Happy codding!
This article describes yet another solution for a synchronous multiroom audio. It contains device demo, detailed hardware & communication & software design, HOW-TOs with the links to the configs, benefits and drawbacks of this solution, things that I want to improve and my feedback after using it.
Description
The audio player streams audio from a linux-based PC while been connected to the same WI-FI network and integrated into a Home Assistant (HA) server. No internet or cloud access is needed, only local WI-FI access. The audio player has following features:
displayed play/stop toggle button
displayed volume slider
displayed current time, WI-FI signal level
timeout to turn off display when no activities detected
2 physical buttons to control player and 1 button to reset
remote control over HA
Short demo of the player: Start/stop commands (locally and over HA), volume adjustment, backlight turn on due to button press:
Player Wiring Diagram
Wiring diagram of the synchronous multiroom audio player
go to tab “Input Devices”, down in the menu select “Show: Monitors”, adjust the volume of your monitor channel
choose your streaming device by clicking on “Set as Fallback” button
PulseAudio, Input Devices menu
install icecast2 service, responsible for converting PCM stream to icecast format
edit icecast configuration file, (usually it’s located in /etc/icecast2/icecast.xml). You need to change <source-password> (pass for the tools, that stream the source), <admin-password> (admin pass), <admin-user> (any nickname), <hostname> (IP address of your PC), <port> (could be 8000) fields
restart icecast:
sudo systemctl restart icecast2
install butt streaming tool, for streaming icecast over http.
open butt:
Main menu of Butt
Go to the Settings. on the “Main” tab choose “Add Server”.
Settings menu of Butt
Define “name”, select Server Type as “Icecast”, port, IP address and password should be equal to <port>, <hostname>, <source-password> from icecast configuration. “Icecast mountpoint:” is a postfix for stream URL, for example: http://<hostname>:<port>/<postfix>
HOW-TO set up & flash audio player for receiving audio stream
Make sure you have all hardware components described above
to put DAC Decoder I had to adapt it and also adapt T-Display Shell, see the picture:
After fixing T-Display S3 & I2S DAC Audio Decoder
do the soldering according to the diagram above. That’s how it looked for me:
After soldering T-Display S3 & I2S DAC Audio Decoder
IMPORTANT: In the config file specify SSID, WI-FI password and URL for the audio source stream, which is defined in butt
HOW-TO connect audio player to Home Assistant
Once the audio player is flashed with correct WI-FI credentials, it will be automatically discovered with Home Assistant platform. Enter convenient name for it.
Discovered audio player in Home Assistant
After adding the audio player to the list of the devices, find “Entity Id” of the player by going in to Settings -> ESPHome -> Entities -> “Name of your player” -> Settings.
Media Player Settings in Home Assistant
Copy it and replace default entity id (“media_player.s3_esphome_i2s_media_player”) with yours in YAML config file. The reflashing of the audio player with new configuration is required. It’s needed for state synchronization of the player in HA and the device.
Benefits and Drawbacks
🙂 does not require any code development
🙂 compare to Bluetooth-solution, it can work in one-to-many streaming configuration
🙂 compare to Bluetooth-solution, it can be controlled either locally or remotely over HA
🙂 compare to Bluetooth-solution, it’s active control, receiver decides when to start streaming, not the streaming source
🙂 compare to Bluetooth-solution, neither receiver nor sender is exposed to bluetooth network which can cause exteral unwanted connections
🙁 compare to Bluetooth-solution, audio stream is not normalized. When the origin audio is louder, receiver part gets louder audio (it can be fixed)
🙁 requires basic soldering skills
🙁 it’s only for HA users, it requires basic knowledge of defining new services in HA
🙁 the audio is not really synchronous. From the other point of view, I cannot be in the few rooms simultaneously, so I don’t need really need to have fully synchronous audio
🙁 the streaming part(linux-based PC) is not yet cross-platform, although it can be configured for Windows and MacOS too
Things To Improve
After using the player for 2 weeks I got some requests for this device:
(if there will be requests) add HOW-TO for streaming side on Windows or MacOS
(if there will be requests) add solution without LCD display, just with the buttons
normalized audio on receiver, so sound level on streaming part is not dependend on receiver part
add docker file for setting-up streaming side
add opportunity to control the sound level of streaming side from the audio player
improve state synchronization between HA and the player (If the device restarted I cannot start to listen stream from HA. But it can be fixed)
My Feedback
First things first, it solved my problem, so the device turn to be a useful, at least for me. The device is small and can be taped on a flat wall or on a shelf (that’s what I did). The cable placing is okay. Would be better to have both connected from one side (although for such a small device it’s not really possible).
For the negative sides, 2 times I observed that the audio stuck after 2-3 minutes of playing. Once there was some noise in the stream (most probably related to the poor WI-FI connection). Simple device restart fixed all those cases.
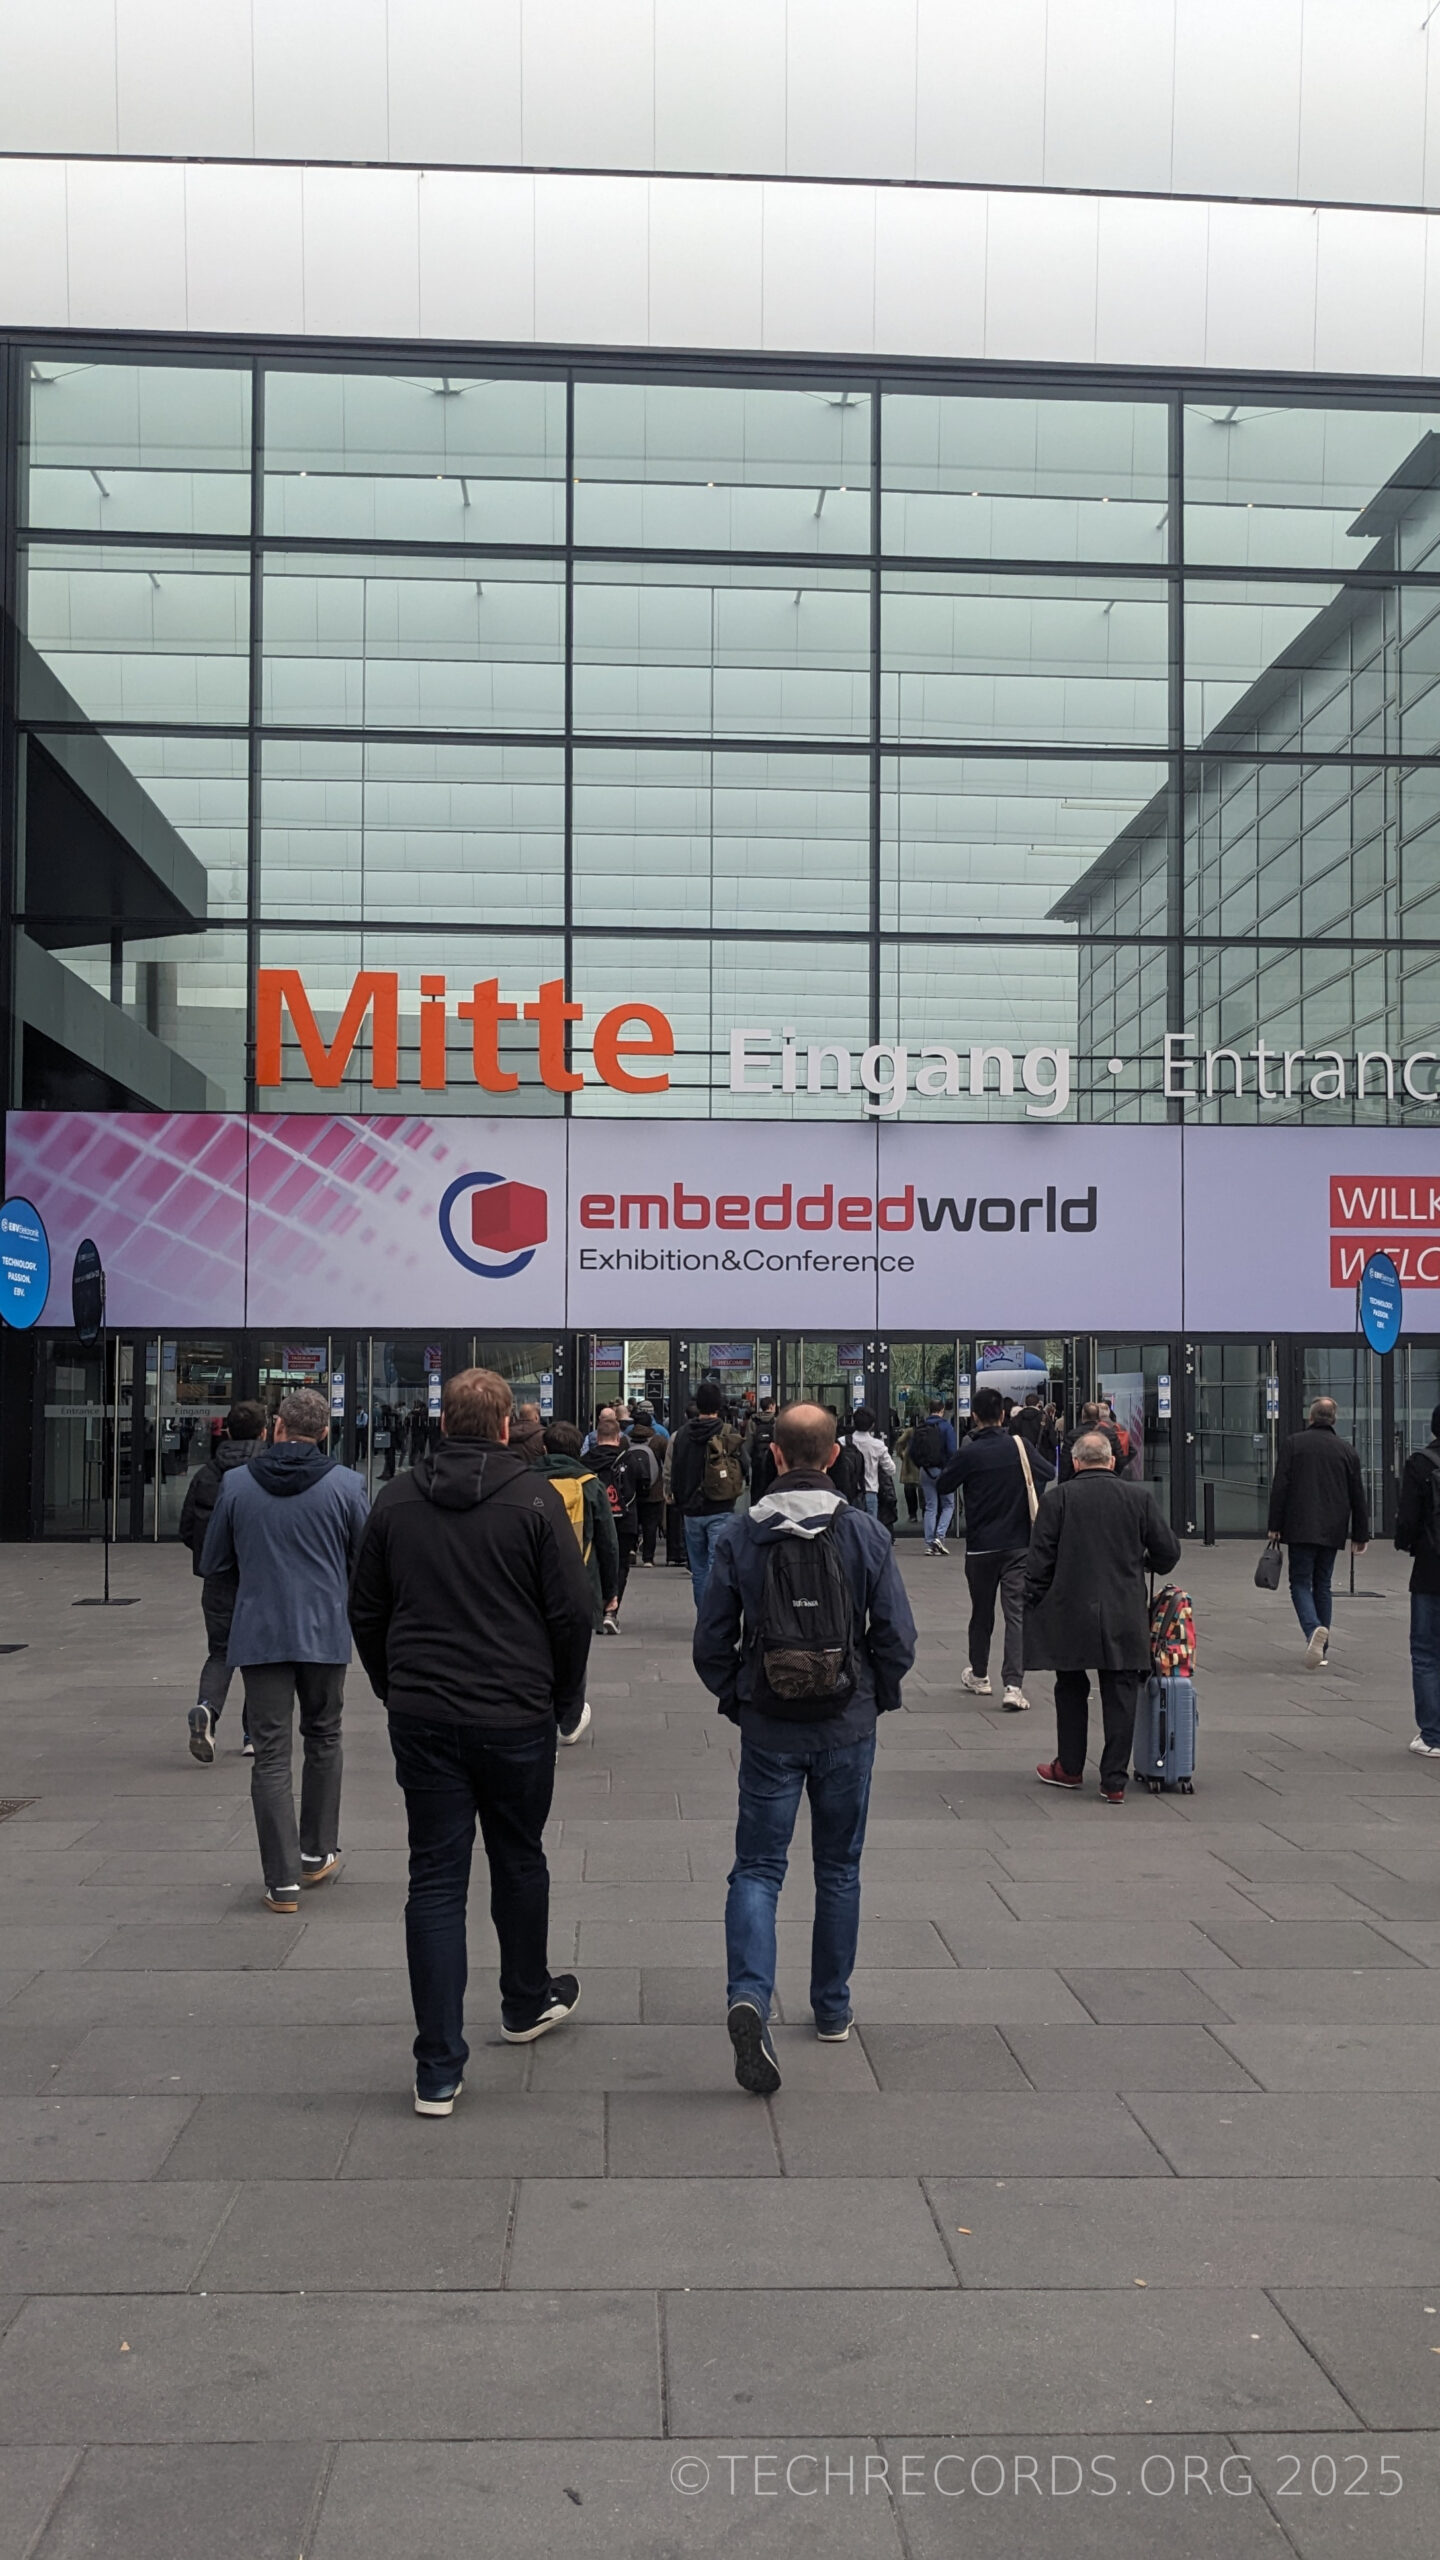
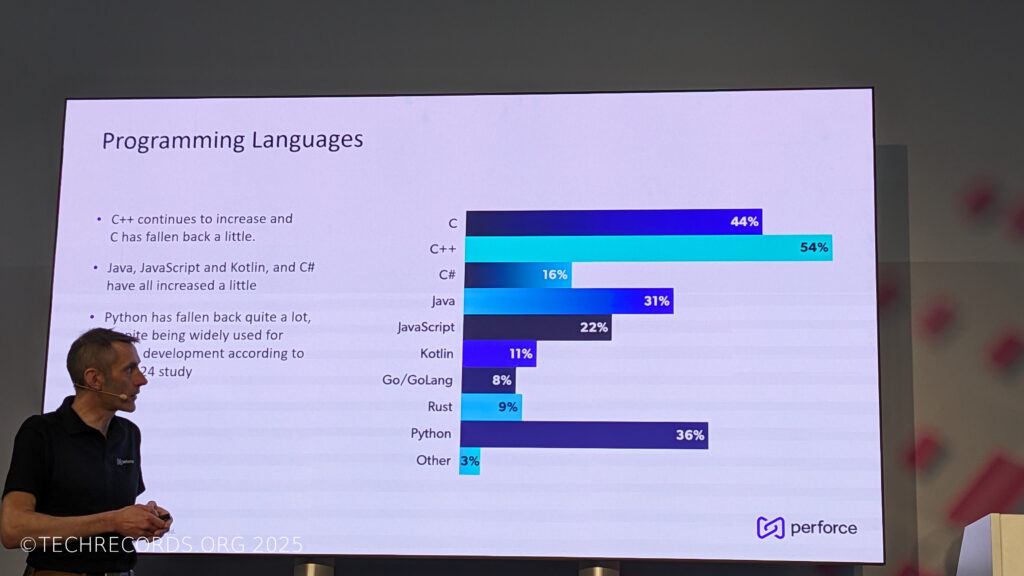
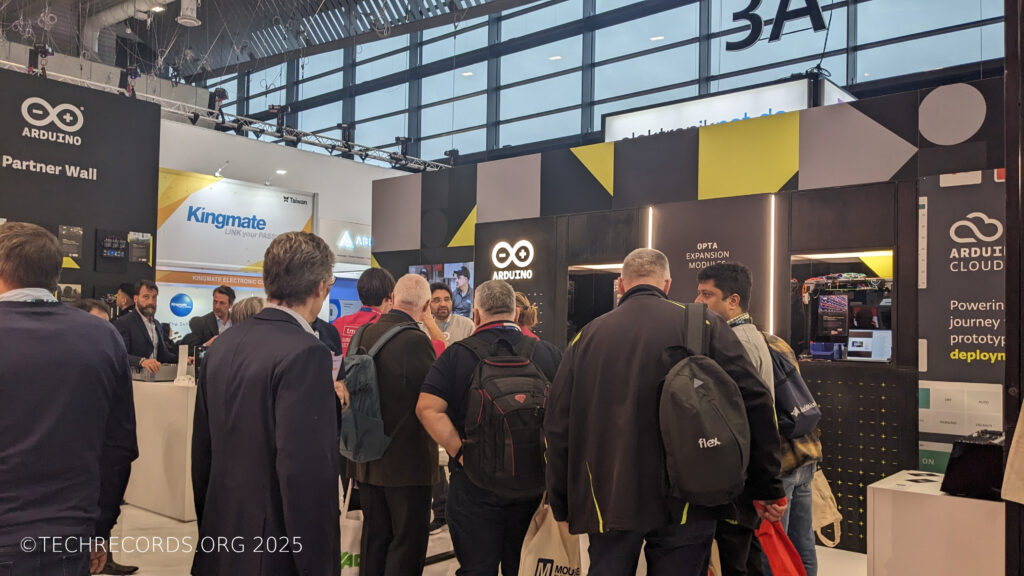
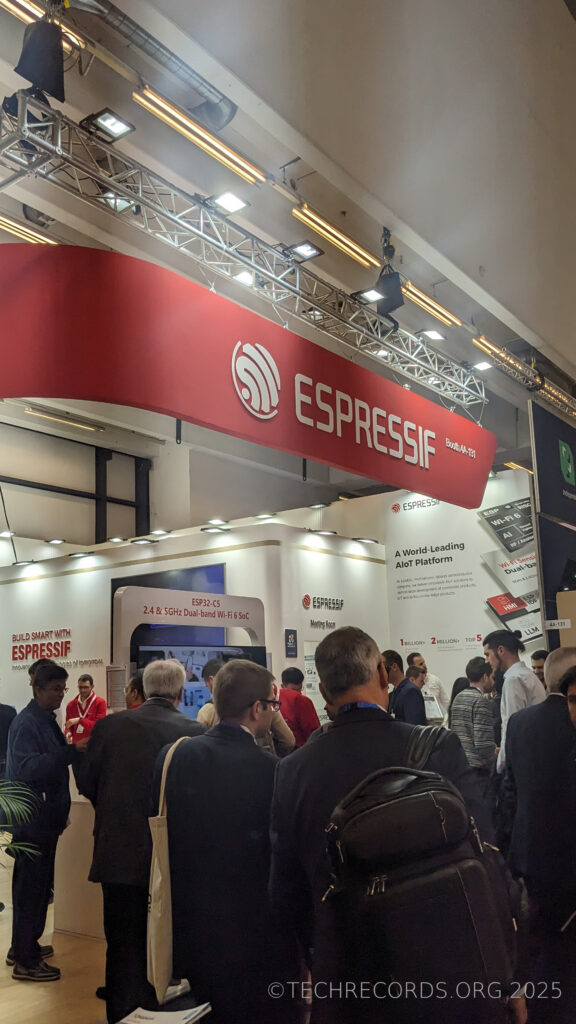
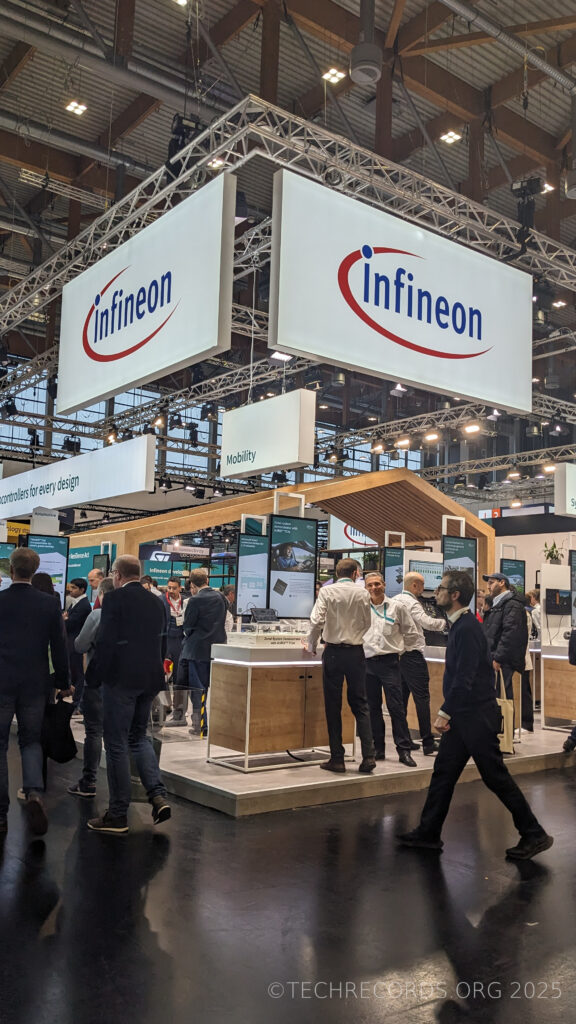
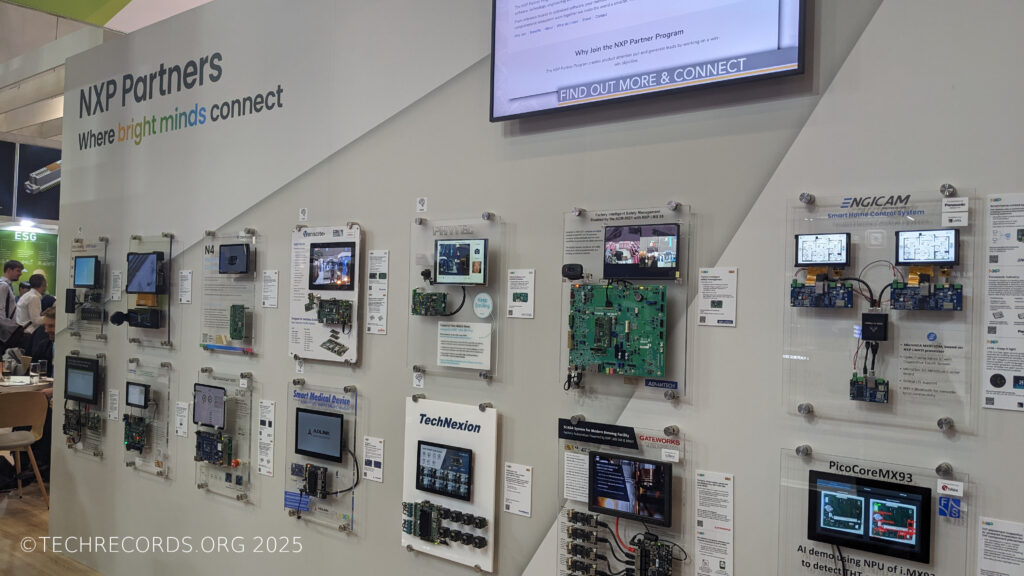
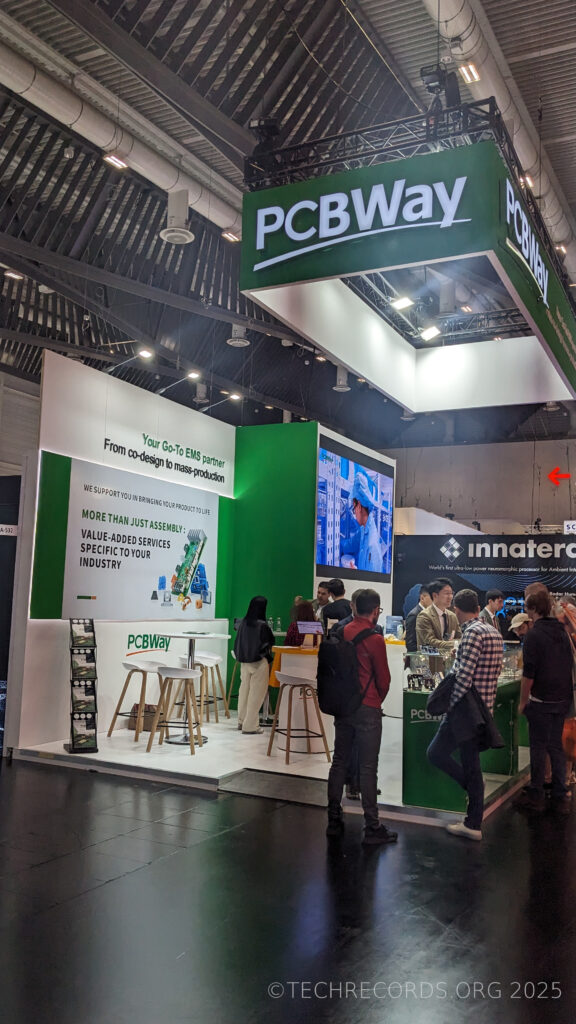
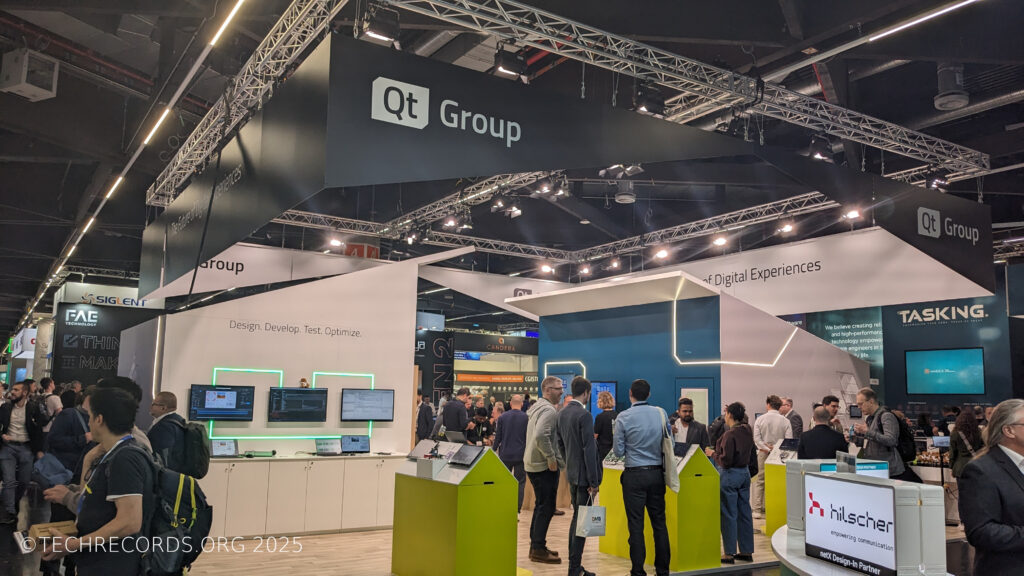
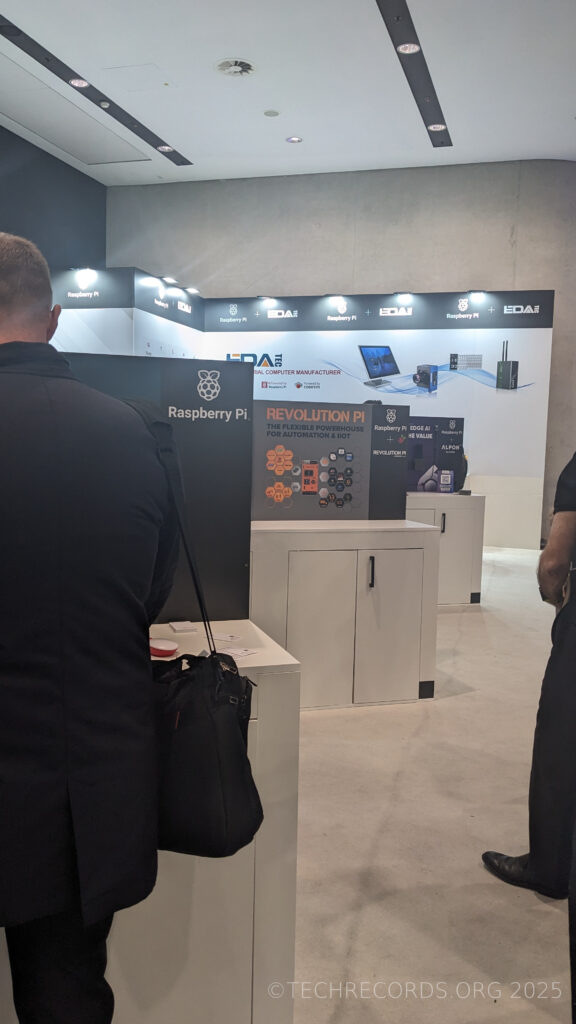
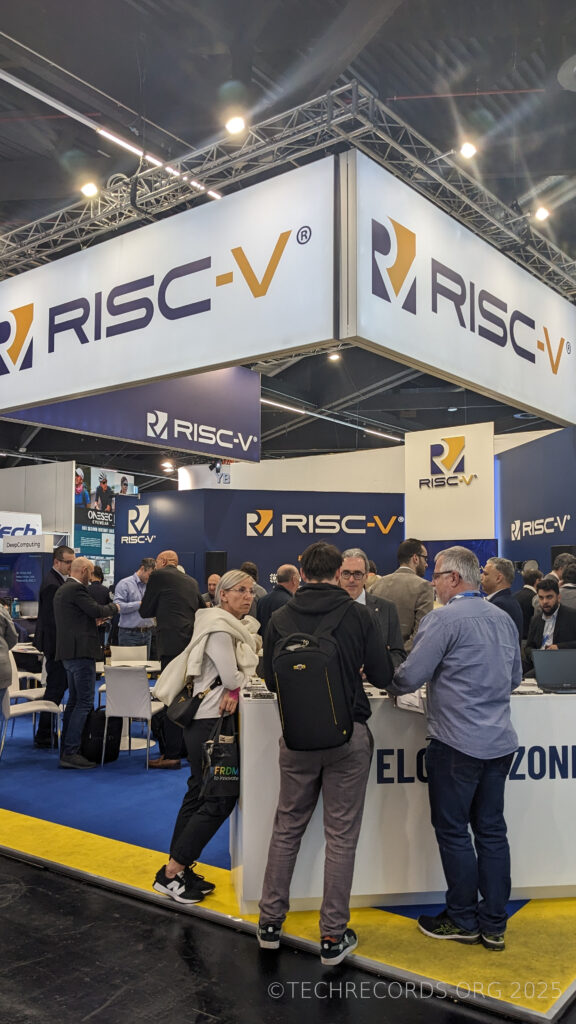
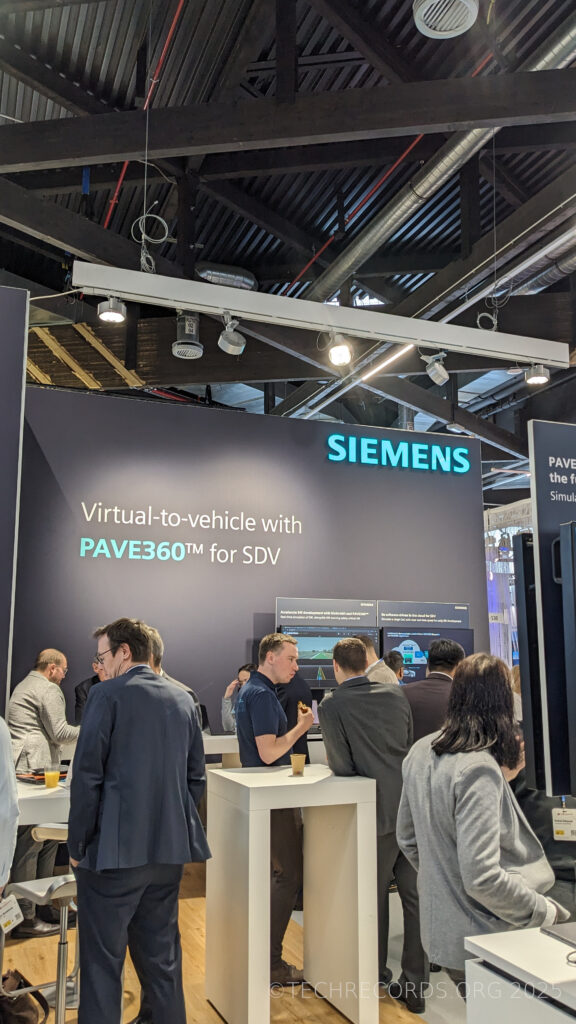
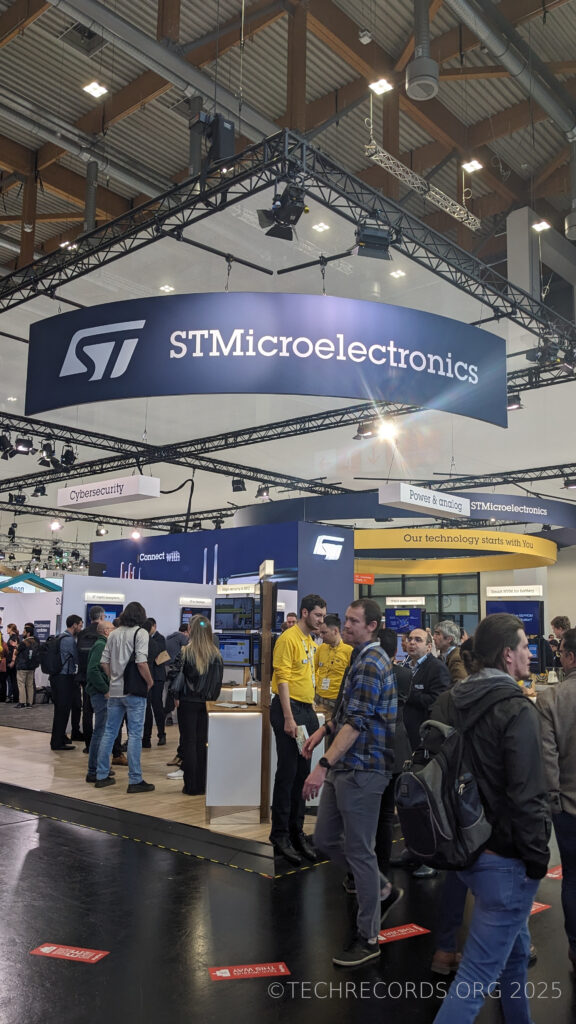
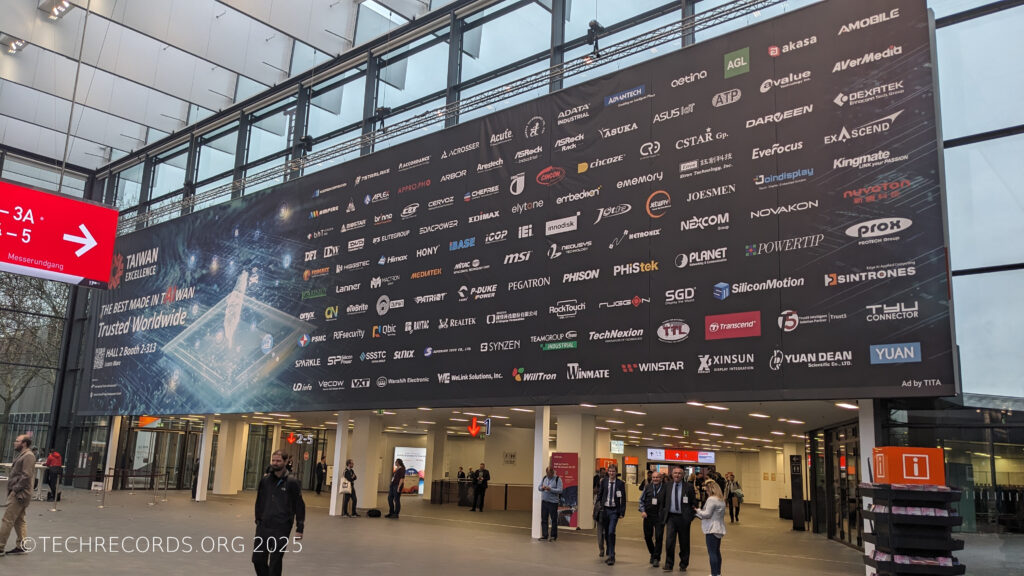
The most trendy words of #embeddedworld2025 in my opinion were #EdgeAI, #RISCV and #RCA. I was happy to meet my former and present colleagues, motivated by the talks and discussions at the stands and excited about what the next year will bring! Here are few pictures from the conference:
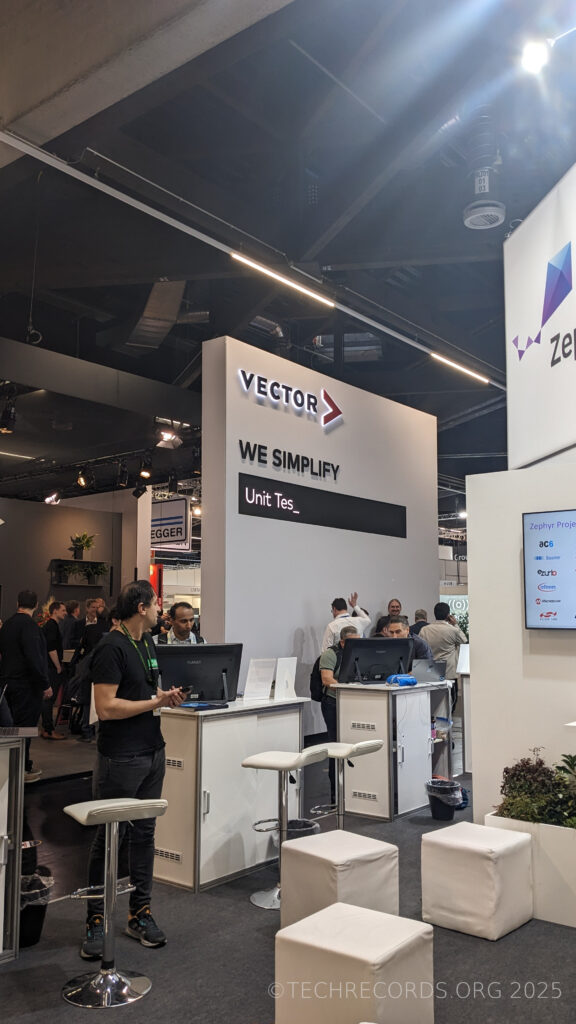
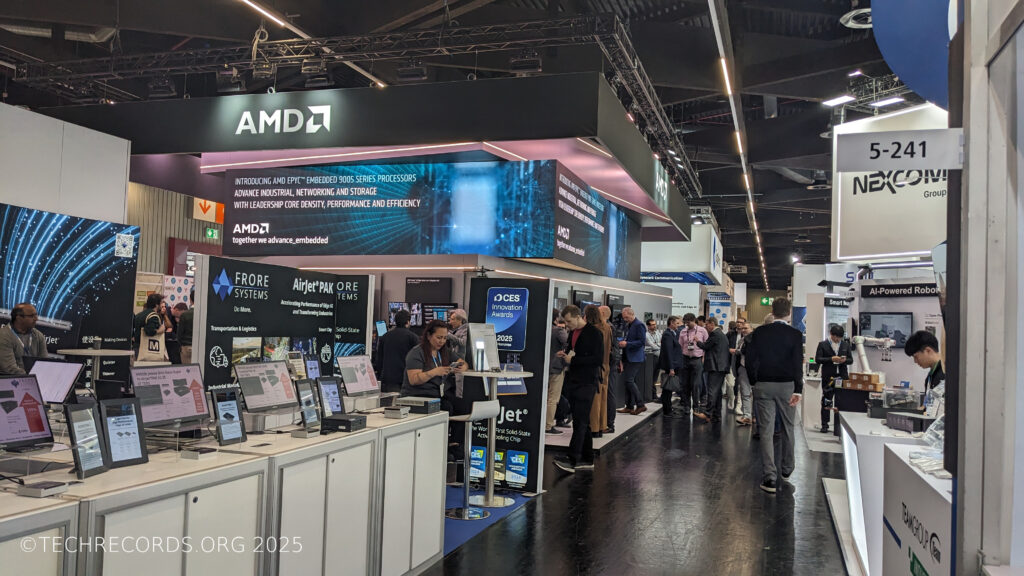
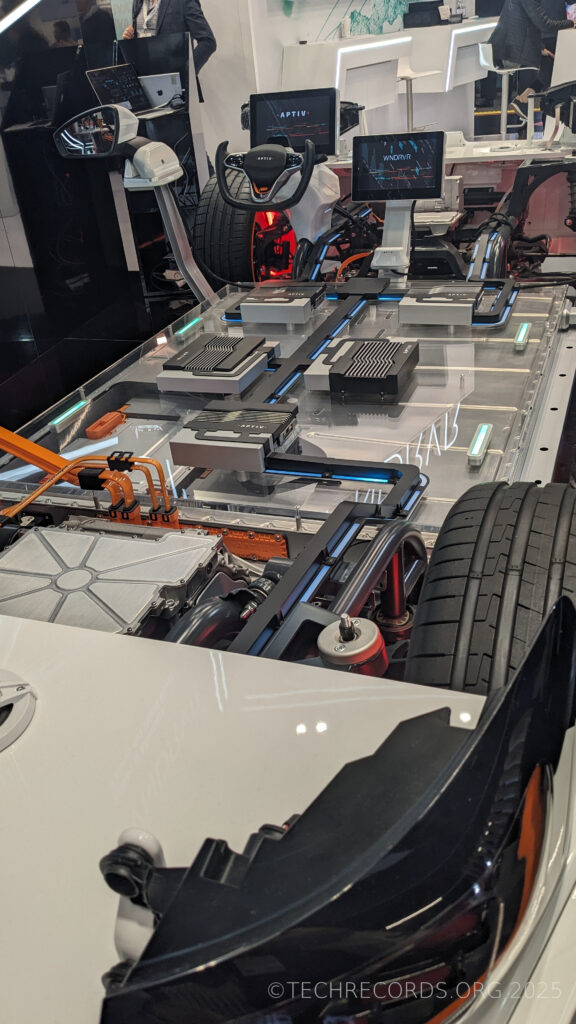
Embedded World 2025 EntranceProgramming languages that used among software developers in Automotive industry in 2024Vector standAMD standElectric car at APTIV standArduino standEspressif StandBig Infineon standNXP stand with hardware examplesPCBWay standQt standIndustrial automation examples based on Raspberry PiOpen standard RISC-V standSiemens stand with cloud solution that simulates Infotainment ECU and vehicle surroundingsSTMicroelectronics with stands that show different features of their chipsPanel discussion at Embedded WorldBig banner at the entrance represents Taiwan companies at Embedded WorldPanel discussion at Embedded World
The most trendy words of #embeddedworld2025 in my opinion were #EdgeAI, #RISCV and #RCA. I was happy to meet my former and present colleagues, motivated by the talks and discussions at the stands and excited about what the next year will bring! Here are few pictures from the conference:
This article reviews the architecture of cloud-based visualization of the data from ESP32 microcontroller. My experience may help other developers/architects avoid the problems I encountered during the development process. It contains the links to source code, HOWTOs locally and in AWS and lessons learnt.
in Summer 2024 I finished one after another trainings, namely IoT Application Development with ESP32 from Udemy and “Deploying Serverless Application on AWS with Terraform” provided by my former employer.
Have you had a feeling after passing a training “hm, that was good but I want to practice it!”. At least I had one. So I decided make a project where I can leverage the new knowledge. I set two simple goals:
visualize the data from ESP32 as time series, namely temperature, humidity, RSSI level.
add it to EPS32 embedded web-server and make it as WEB service the cloud.
Wiring diagram of ESP32 with DHT22 sensorAssembled circuit
Visualization in ESP32 embedded web-server
No issues were there. I extended original IoT course’s repository by adding chart.js library and sensor chart to embedded ESP32 web-server. My fork with extensions and detailed description is located here.
Visualization in ESP32 embedded web-server
WEB service visualization on AWS. Initial Software Architecture
The idea was to deploy Grafana as UI on EC2, add AWS IoT Thing as MQTT Broker, use DynamoDB as data storage, set up API Gateway for accessing data over HTTP and add few lambdas to glue things together.
Architecture of AWS-based Visualization. Version 1.0
At that moment I didn’t really study Grafana and its data sources and naively thinking that it supports data fetching from REST API or DynamoDB out of box.
Revised Software Architecture: Attempt Two
During the development I decided to simplify design by moving from lambdas and instead use a python script for forwarding MQTT messages to DynamoDB and use DynamoDB data source in Grafana for fetching time series data. A part from that I replaced AWS IoT MQTT Broker by Eclipse Mosquitto MQTT Broker which I installed on the same EC2 instance where Grafana was. Route53 is used to have a static hostname for ESP32.
Architecture of AWS-based Visualization. Version 2.0
At the stage when I tried to connect Grafana and DynamoDB I realized that the current architecture would require additional expenses. I avoided it and come up with the final architecture design (down below).
Anyways I decided to upload this implementation partially finished (with no Grafana connection). Even more, there are 2 configurations of MQTT communications on the server side, namely using user/pass authentication and using communication over TLS. Pay attention: SoC flashware is configured for TLS communication only.
Final Software Architecture
Only at that point I started to study Grafana and its data sources. It seemed that Prometheus together with Prometheus Pushagateway was most common choice for collecting time series data over REST.
Architecture of AWS-based Visualization. Version 3.0Grafana Dashboard
Here are the links to the final architecture: Terraform config, SoC flashware and Grafana config (is deployed by Terraform). The final solution is not focused on security aspects. This one is left on the used user.
Lessons Learnt
After going over 3 architecture iterations, I summarize the outcome in 2 points:
The simpler the architecture, the better. I went down from 7 elements to 5 at the final stage.
Get to know all the components and the interfaces between them in your architecture. I would safe a lot of time avoiding useless implementation if I’d study Grafana beforehand.
How to reproduce
Flash ESP32
assemble ESP32 with a DHT22 sensor, according to wiring diagram
This article reviews the architecture of cloud-based visualization of the data from ESP32 microcontroller. My experience may help other developers/architects avoid the problems I encountered during the development process. It contains the links to source code, HOWTOs locally and in AWS and lessons learnt. Links used in the project Terraform provision configs Server configs &…
Hello Internet! Now is 15. of October 2024, 00:36 AM. My name is Sergey. After collecting many years in High Tech as a software developer and contributing to Open Source I decided to start this blog. It will be primary focused on the issues and the solutions in IT (HOWTOs, reviews, notes, hints, news, etc). The major reason is: I want to have one place where all my projects are structurally stored and well described (I don’t think that Social Networks or web-based Git repositories could be a good fit for it). Some of the projects are finished and released and some of them are still in a draft state. As an outcome I would like to receive some feedback from colleagues, build a networking and potentially a cooperation around it.
Hello Internet! Now is 15. of October 2024, 00:36 AM. My name is Sergey. After collecting many years in High Tech as a software developer and contributing to Open Source I decided to start this blog. It will be primary focused on the issues and the solutions in IT (HOWTOs, reviews, notes, hints, news, etc).…